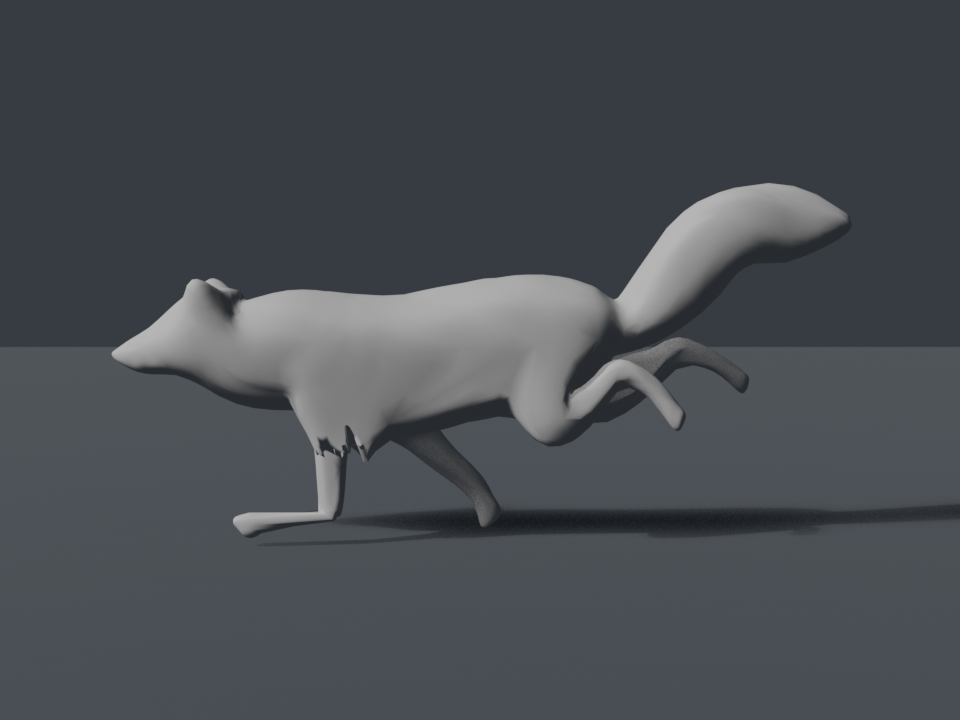
Meshy and Tripo can export a creature with a skeleton, skin weights, and animation intact. That does not make every bend production-ready. A generated quadruped may walk, yet a paw caves in, a tail pulls the back, or a wing membrane follows the wrong segment.
Do not treat every bad pose as a reason to start over. First separate four different failure classes: bone placement, mesh topology, imported animation, and skin weights. Only the last one is repaired by repainting.
Classify the failure before editing
What Meshy and Tripo actually give Blender
Meshy's current auto-rigging guide says FBX and GLB exports carry the skeleton and weights into Blender. It also recommends remeshing fused or poor geometry and using a character type that matches the body plan. Tripo's current workflow similarly says to verify the armature, scale, root motion, and every clip after import; it names fused geometry, unusual anatomy, and poor weights as separate failure sources.
That distinction matters. Regenerating the skeleton may help when a joint is misplaced. It will not reliably remove a tail-bone weight from a patch of back, and remeshing may sacrifice topology, UVs, or details that were already acceptable.
If the skeleton and most of the mesh already animate correctly, diagnose the smallest failed region before replacing the whole bind.
A five-step Blender test
-
Save a copy and freeze the evidence
Keep the imported file unchanged. Duplicate it, note the failing Action and frame, and capture the camera angle where the defect is unmistakable. A useful repair request includes that exact failed pose.
-
Verify the skeleton before the weights
Turn on the armature's In Front display and inspect the joint center. Rotate the suspected deform bone manually. If the bone pivots outside the anatomical joint, fix placement or hierarchy first. Weight painting cannot move a pivot.
-
Interrogate one bad vertex
In Edit Mode, select a vertex at the strongest visible error. Blender's Vertex Weights panel lists every group and weight on that vertex. A back vertex carrying a hind-foot group is a direct wrong-bone diagnosis. A paw vertex split broadly across unrelated leg groups points to a muddy transition.
-
Change the narrowest region
Remove a named wrong group from only the affected vertices. For a locally harsh transition, select the joint band and smooth lightly. Blender's Smooth documentation states that it averages connected neighbors and that repeated smoothing can damage fine detail. Do not smooth the whole creature.
-
Test the full motion range
Check flexion, extension, twist, and neighboring joints—not only the frame you repaired. A paw fix must not pull the belly. A tail-base fix must survive side bend and upward curl. A wing-root fix must not flatten the membrane when the next bone rotates.
Creature-specific checks
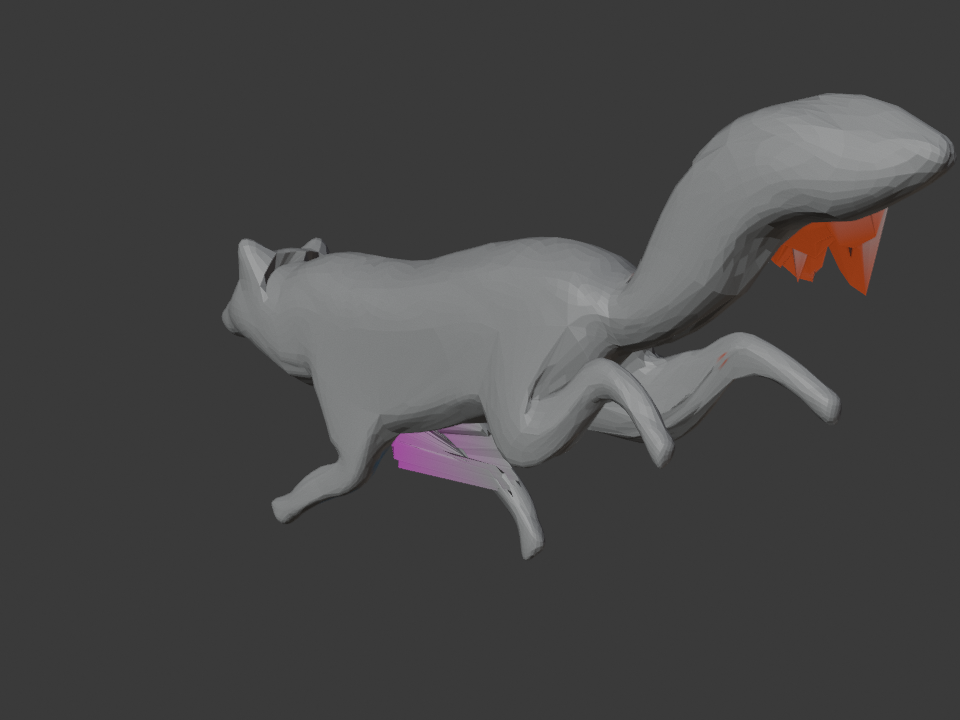
Paws and digitigrade ankles
Test the ankle, foot, and toe bones separately. Compact anatomy puts several bone segments close together, so a visually plausible bind can still spread influence too far. Keep claws out of a soft transition unless they are meant to deform.
Wing membranes
Inspect a line of vertices from the wing root to the outer segment. The weights should form an intentional handoff across adjacent wing bones. A membrane that follows only the root looks rigid; broad unrelated torso influence makes it cave or twist.
Tail bases
Look for a transition from pelvis or spine to the first tail bones. A tail bone owning a disconnected patch of torso is wrong-bone influence, not a reason to smooth every tail group.
Fused or floating parts
If limbs were generated fused together, or armor and eyes are separate islands, solve the geometry and object-parenting decision before painting. Both Meshy and Tripo explicitly identify fused, disconnected, or poor topology as rigging risks. Skin weights cannot create missing separation or usable bend topology.
When to rerig—and when not to
- Rerig or reposition bones when the skeleton type, hierarchy, or joint centers do not match the creature.
- Retopologize or separate geometry when fused limbs, duplicate seams, or insufficient bend loops cause the defect.
- Repair weights locally when the skeleton is usable and the failure traces to wrong or poorly distributed vertex-group influence.
- Keep the original rig when most of the animation already works. A full rebind can overwrite good weights and create new failures elsewhere.
Current references
- Meshy: How to Create 3D Animation with Auto Rigging — current character types, export formats, and guidance for fused geometry, topology, and pose.
- Tripo: How to Animate an AI-Generated 3D Model — current Blender import checks and limits for non-standard creatures.
- Blender Manual: Vertex Weights — inspect every influence on a selected vertex.
- Blender Manual: Editing Weight Paint — selected-region smoothing, cleanup, normalization, transfer, and influence limits.