A Blender Stack Exchange question described a forearm painted to 100% that still lagged behind its bone, leaving the hand floating. The useful clue is that Weight Paint color visualizes the active group only. A vertex can also belong to the upper arm, hand, helper, or another deform group, so adding more red to a value already at 1.0 does not identify the conflict.
Why 1.0 does not mean exclusive control
Each vertex can store a separate value from 0.0 to 1.0 in many vertex groups. When those groups match bones with Deform enabled, they can all contribute to the Armature modifier's result. Weight Paint displays one group's value at a time; it does not show the combined ownership.
- 1.0 is the active group's stored value: it is not a promise that every other deform group is zero.
- Red is not a full audit: a distant or neighboring bone can still have a hidden nonzero value on the same vertex.
- Normalization controls proportions: it makes the allowed deform weights add up coherently, but it cannot decide which bone should own the vertex.
The correct influence may already be present. First identify the competing group on one failed vertex, then make the smallest edit that fixes the repeated pose.
Inspect the complete weight list
-
Keep the failed pose visible
Work on a saved copy. Pose the exact frame where the forearm, paw, wing, tail, or clothing surface slips away. A rest pose can hide competing influences that become obvious only under rotation.
-
Select one visibly wrong vertex
In Edit Mode, select a vertex at the edge of the slipping region and open the 3D Viewport Sidebar's Vertex Weights panel. Record every nonzero group, not just the active red group.
-
Separate deform groups from labels and controls
Match each group name to the armature. A group affects the Armature modifier when it corresponds to a bone that is allowed to deform. Do not delete a group merely because its name looks unfamiliar.
-
Compare a nearby vertex that follows correctly
The good neighbor shows the local transition you are trying to preserve. Compare its complete list with the failed vertex and look for one extra influence, an opposite-side group, or a missing expected neighbor.
Repair the relationship, not the color
-
Mask the failed region
Enable vertex or face selection masking and select only the patch that fails. This prevents a local correction from softening good weights elsewhere on the limb.
-
Remove only a proven competitor
If the failed vertex has an unrelated deform group that the good neighbor lacks, remove that group from the selected patch or lower it gradually. Keep expected joint neighbors so the bend can still transition smoothly.
-
Normalize the selected vertices
Review locked groups, then use Normalize All on the masked region or paint with Auto Normalize enabled. Locked weights are preserved, so verify that enough editable weight remains for the intended groups.
-
Retest more than one angle
Return to the original failed pose, then scrub through the joint's useful range. Check the boundary of the edited patch for a new crease or seam before expanding the selection.
When the weight list is already correct
If the failed and good vertices have the intended groups and proportions, stop repainting. Verify that the posed bone is the actual deform bone, the Armature modifier targets the intended rig, the modifier is enabled, and the group name exactly matches the bone. If the surface follows but loses volume, test the Armature modifier alone before blaming weights; Corrective Smooth, shape keys, Cloth, and other modifiers can change the final silhouette.
Use the analyzer to find suspicious influences
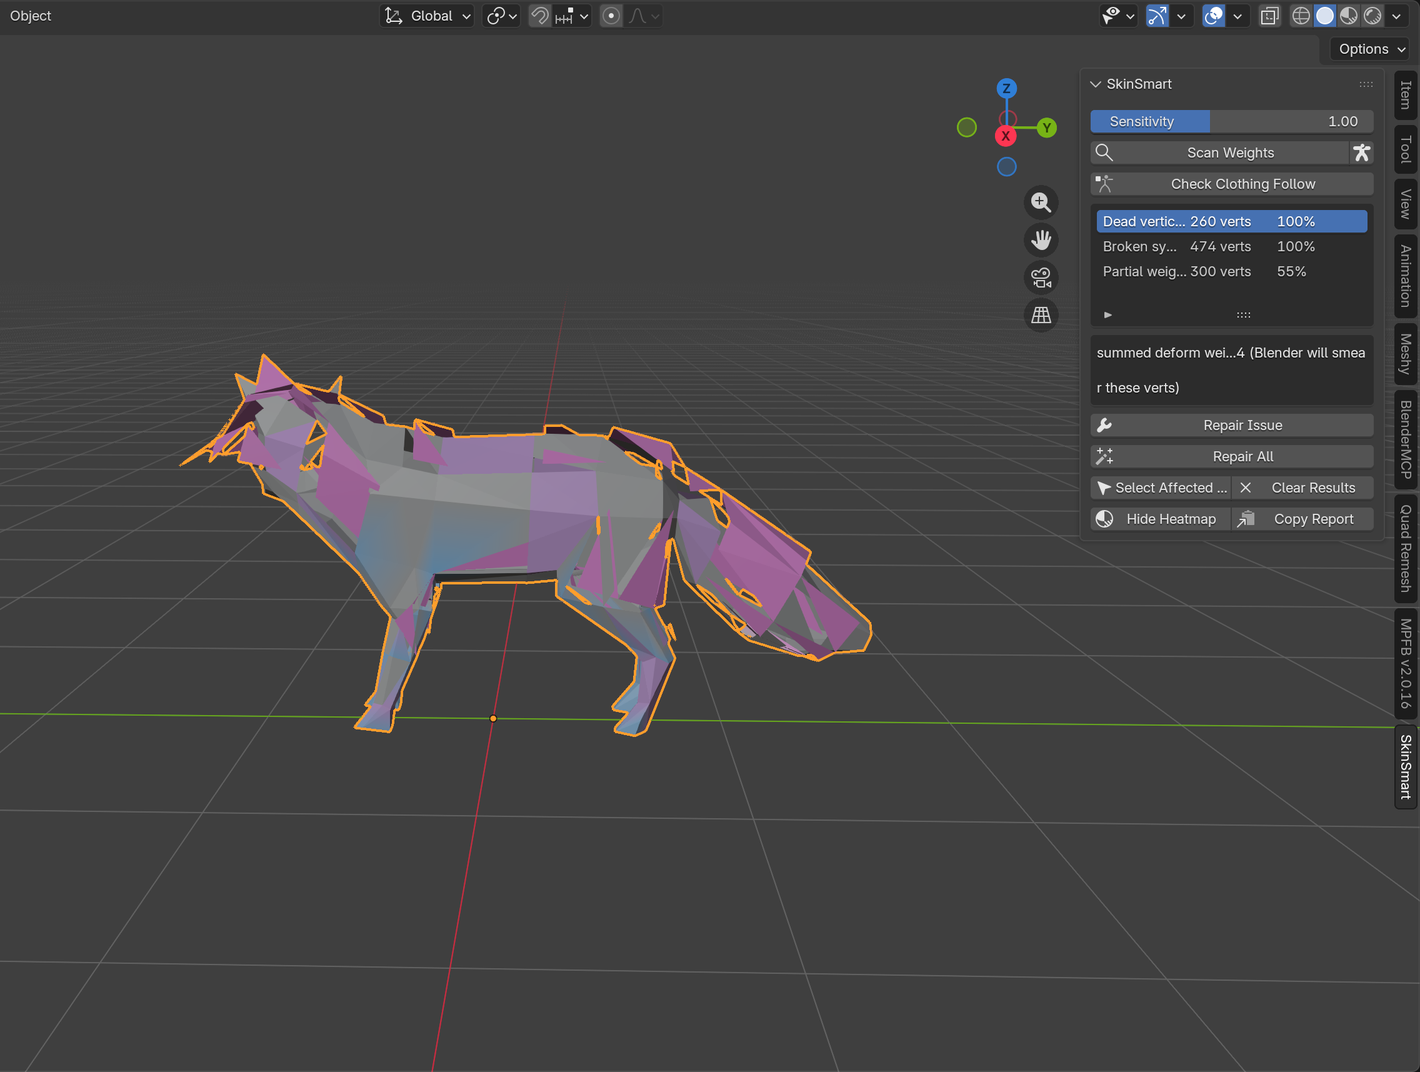
The free SkinSmart beta can flag suspicious weight relationships and select affected vertices for review. It diagnoses; it does not repaint, normalize, or change the rig. It also cannot guarantee that an arbitrary production file can be repaired.
Download the free analyzerReferences
- Blender Stack Exchange: mesh not fully adhering to armature movement, the public 100%-weight symptom that prompted this guide.
- Blender Manual: Vertex Weights, for inspecting and editing every group value on a selected vertex.
- Blender Manual: Weight Paint introduction, including normalization, locked groups, and the normalized workflow.
- Blender Manual: Weight Paint editing, including Normalize All and locked active groups.