Yes: Blender can limit Weights → Smooth to selected vertices or faces. The reliable workflow is to pose the failure, mask the smallest transition that needs work, limit which vertex groups can change, smooth with a low factor, normalize, and test the whole motion range.
This is especially useful on compact creature joints. A few loops at a paw, hip, wing root, or tail base may need a softer handoff while the rest of the limb is already correct.
Contain the edit before smoothing
-
Keep the revealing pose visible
Key a neutral frame and a bad bend, then stay in Weight Paint Mode and scrub between them. Use a pose that exposes the crease or collapse, not the rest pose where the weights may look harmless.
-
Turn on vertex or face selection masking
Enable a selection-mask icon in the 3D Viewport header and select only the loops around the bad transition. Blender's Selection and Visibility documentation confirms that unselected vertices are protected from painting, and the weight-editing operators also respect these masks.
-
Limit the affected groups
For a hinge-like joint, start with the two neighboring deform groups: upper and lower leg, wing arm and first digit, or tail base and first tail segment. Lock unrelated groups, or use the Smooth operator's Subset option in Adjust Last Operation to restrict the groups it changes.
-
Smooth once, then inspect
Run Weights → Smooth with a modest factor and one iteration. The Blender Weight Paint editing reference describes Smooth as averaging selected vertices from adjacent weights. Repeated high-iteration passes can flatten a deliberate transition.
-
Normalize and retest
Normalize the selected region if the deform-weight totals need repair, then scrub through the neutral and bent frames. Check the border of the selection for a new seam before increasing the Smooth factor or iterations.
Mask vertices first; restrict groups second; smooth lightly; normalize last. Selection controls where the operation acts, while the group subset controls which influences it can redistribute.
Do not smooth a wrong-bone influence
A smooth-looking heatmap can still belong to the wrong bone. Before smoothing, inspect a vertex at the peak of the failure. If a foot group owns part of the belly, a wing digit owns the torso, or a tail tip owns the hip, remove that unrelated membership first.
Smooth does not decide which bones belong in a region; it averages the weights that are already there. Averaging a bad influence can spread it into more selected vertices. If geometry moves when an unrelated bone rotates, follow the wrong-bone influence workflow before touching Smooth.
Creature-joint cases need different boundaries
Paws and compact ankles
Select the ankle transition loops, not the full paw. Keep toes and claws out of the smoothing selection unless they actually bend with the same deform chain. Rigid claws often need a single dominant group rather than a soft gradient.
Wing roots and membranes
Separate the shoulder fold from the membrane panels. Smooth can help the shoulder transition, but a thin membrane usually needs an intentional gradient between adjacent wing bones. If another correctly weighted wing surface overlaps the membrane, Blender's Transfer Weights workflow can be a better starting point than a fresh automatic bind.
Tail bases
Include enough body loops to avoid a hard hinge, but stop before unrelated pelvis or hind-leg influences enter the selection. Test side bend, upward curl, and twist; a transition that passes one direction can still collapse in another.
Where this guidance comes from
The containment steps follow Blender's current manual: selection masking protects unselected geometry, Smooth averages selected vertices from adjacent weights, and the operator can restrict the vertex-group subset it edits. The same question appears in a current Blender Artists deformation thread, where broad smoothing improved one hip pose but changed adjacent regions.
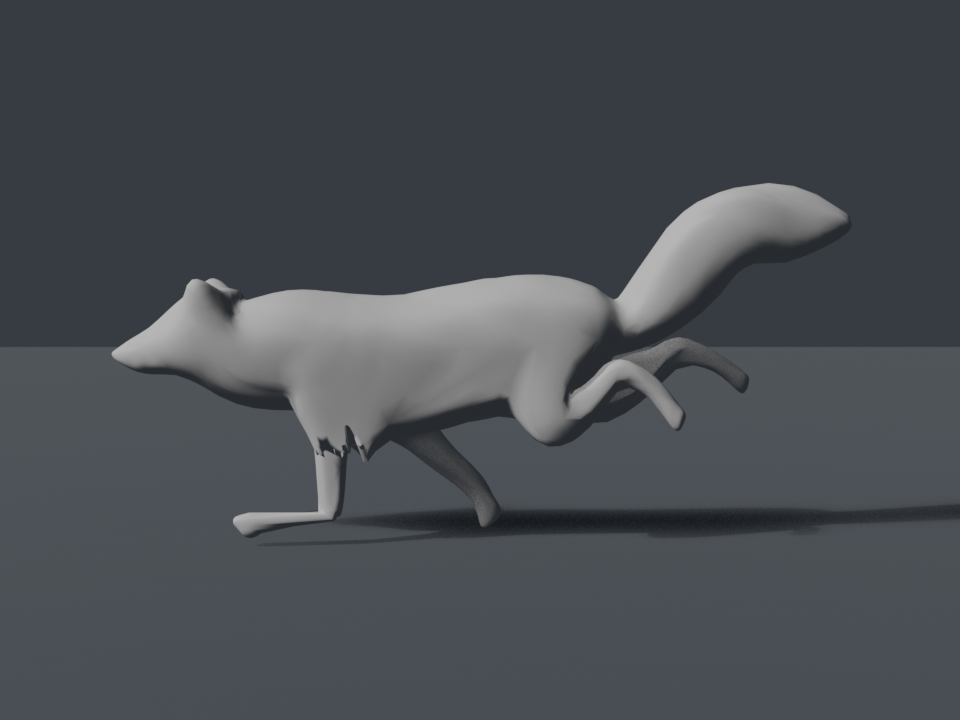
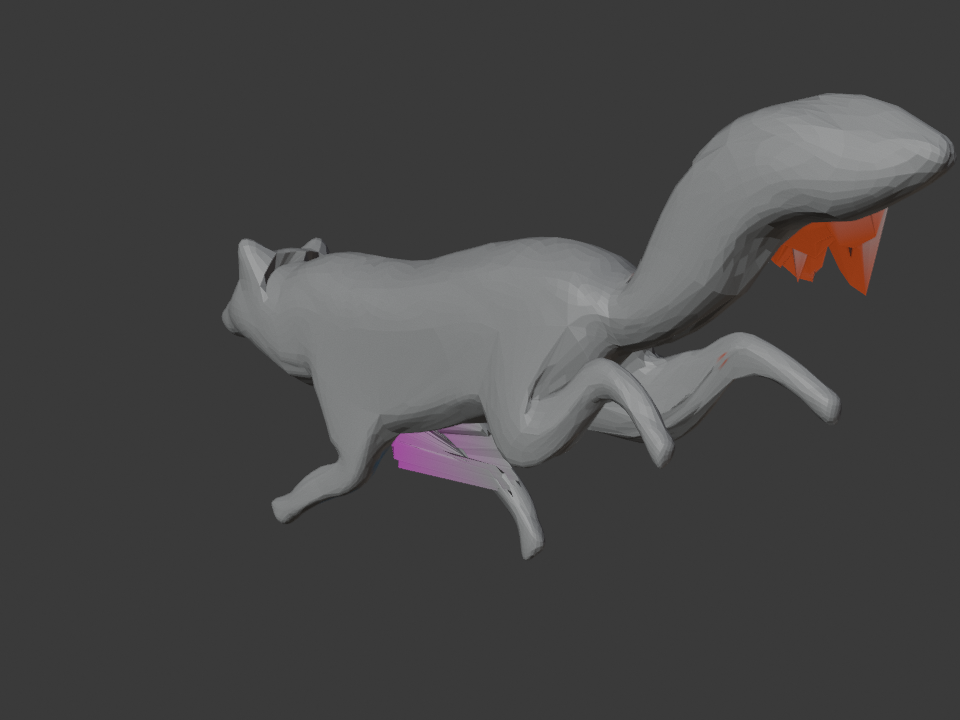
The pictured fox is a controlled SkinSmart fixture, not proof of arbitrary-rig repair. SkinSmart's current public analyzer diagnoses suspicious weights without changing them. The reviewed repair service tests a private copy of the submitted rig, preserves the existing rig and unaffected weights, and only offers a result if that specific case produces a usable reviewed file.
Know when weights are not enough
- If the deepest bend loses volume even with sensible neighboring weights, try Preserve Volume and evaluate a corrective shape key or helper bone.
- If disabling the Armature modifier does not stop the bad motion, inspect shape keys, constraints, drivers, and later modifiers.
- If the mesh tears along a seam, fix the topology or duplicate boundary vertices before tuning a weight gradient.
- If Automatic Weights created empty groups or no useful weights, diagnose the bind failure before attempting to smooth it.
References
- Blender Manual: Selection and Visibility — selection masking protects unselected vertices and faces.
- Blender Manual: Editing Weight Paint — Smooth behavior, vertex-group subsets, normalization, and weight transfer.
- Blender Manual: Weight Paint Options — Auto Normalize, Multi-Paint, and painting restrictions.
- Blender Artists: leg and hip deformation — a current example of global smoothing improving one bend while altering nearby weights.