A recent Blender Artists question described separate, plush-style arms tucked into a round body. A weighted body band hid the rest-pose seam, but waving or reaching opened a notch and made the band wrinkle. Stronger weights and Corrective Smooth only moved the damage. That combination is a useful diagnostic clue: stop adding blur until the failure has been classified.
Run the rest-pose test first
-
Disable the armature deformation
Turn off the Armature modifier in the viewport or switch the armature to Rest Position. Do not move either object while testing.
-
Inspect the shoulder from the failed camera angle
If the gap or hard silhouette already exists, weights did not create it. The arm and body are separate surfaces, so a weight-only repair can change motion but cannot weld the seam or create missing shoulder topology.
-
Restore the same failed pose
If the shoulder is clean at rest and opens only during the wave, reach, or bend, the likely causes are mismatched weights, lost volume, insufficient overlap, or a correction that activates at that pose.
A posed gap can be repairable without changing topology. A visible rest-pose seam normally needs geometry work, a deliberate covering layer, or a fused mesh; repeatedly smoothing weights only spreads the deformation.
Compare exact weights on both sides of the seam
-
Keep one exposing pose
Key the arm at rest and at the exact angle that opens the gap. Scrub between those frames after every change instead of judging an unrepeatable hand-posed result.
-
Inspect one arm-root vertex and one body-band vertex
In Edit Mode, use the Sidebar's Vertex Weights panel. Compare the shoulder, upper-arm, chest, and nearby control-bone groups numerically. Similar colors can hide very different normalized ratios.
-
Check modifier and armature ownership
Both meshes should use the intended armature, and modifier order should be deliberate. A second Armature modifier, a mismatched object target, or smoothing evaluated on only one side can make copied-looking weights deform differently.
-
Remove distant influences before adding more shoulder weight
A tiny torso, clavicle, helper, or opposite-side influence can pull the buried arm root away from the body. Confirm the bad group on the exact affected vertices, remove only that influence, normalize, and retest.
Use transferred weights as a controlled starting point
When the body already deforms well, Blender's Data Transfer tools can copy vertex-group data to the separate arm by spatial mapping. Treat the result as a seed, not proof of a finished shoulder.
-
Duplicate the file and limit the destination region
Transfer only to the buried root and its blend band. Do not overwrite hand-tuned elbow, wrist, or mitten weights that already work.
-
Choose a mapping that matches the surfaces
Nearest Face Interpolated is often a safer starting point than nearest vertex when the meshes have different density. Apply transforms first and inspect the mapping visually before applying the modifier.
-
Normalize and compare the complete range
Test forward reach, overhead wave, and chest-crossing poses. A transfer that closes one frame but creates a new crease elsewhere has not solved the joint.
Add smoothing or a correction only after ownership is right
Corrective Smooth can reduce volume loss, but it cannot decide which bone should own the shoulder. Restrict it to a vertex group, keep the bind settings stable, and compare it with the modifier disabled. If the weight field is correct and one repeatable angle still collapses, a driven corrective shape key can be more precise than increasing smoothing across every pose.
For extremely short, thick limbs, the desired silhouette may simply be impossible for the current disconnected geometry and single-joint motion. That is a rig or topology decision, not evidence that more weight-paint blur is required.
Use the analyzer for the weight branch
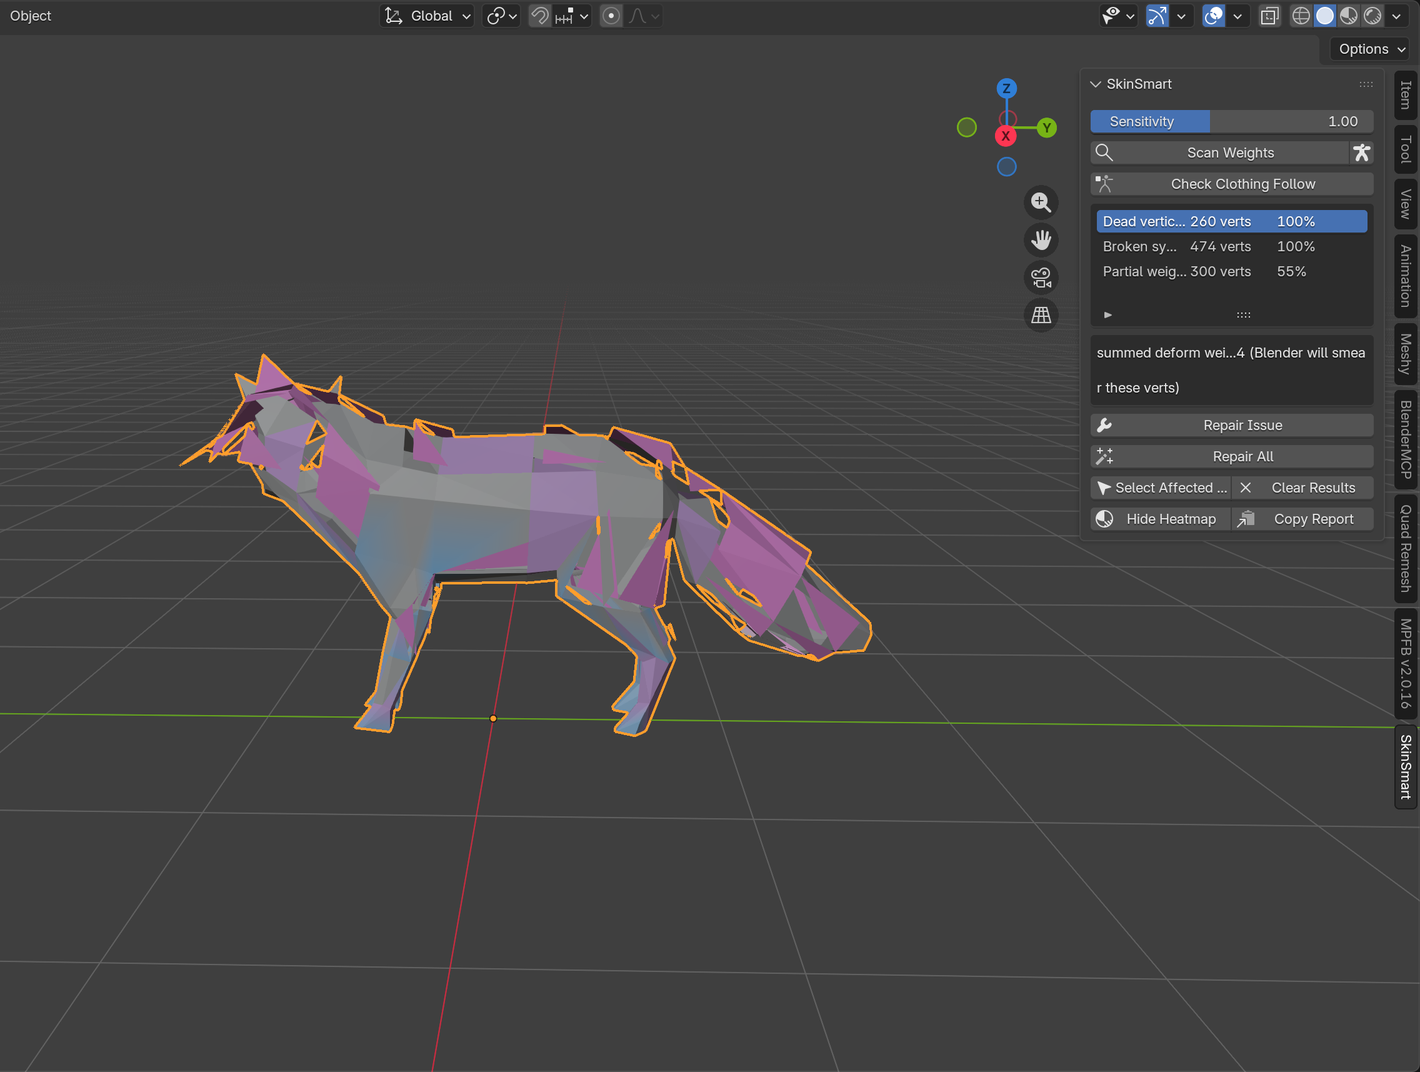
The free SkinSmart beta can flag suspicious weight relationships and select affected vertices for review. It does not fuse meshes, create shoulder topology, run Data Transfer, or repair the file. It also cannot guarantee that an arbitrary production rig can be repaired.
Download the free analyzerReferences
- Blender Artists: separate chubby cartoon arms and shoulder gaps, the current problem pattern that prompted this guide.
- Blender Manual: Data Transfer modifier, including vertex-group transfer and topology mapping choices.
- Blender Manual: Corrective Smooth modifier, including vertex-group restriction and bind behavior.
- Blender Manual: armature parenting and skinning, for the relationship between an armature, vertex groups, and deformation.