A thick cartoon elbow can fail even when the painted gradient looks smooth. Two-bone blending may lose volume at the center, a corrective shape key can pull vertices beyond the joint, or Corrective Smooth can partially undo the sculpt. These failures need different repairs.
Find which layer makes the arm flat
-
Save three comparison poses
Use rest, a shallow bend around 45°, and the failing 90° pose. Keep the shoulder and wrist neutral so their motion does not disguise the elbow result.
-
Test the Armature modifier alone
Temporarily mute the corrective shape key and Corrective Smooth modifier. If the outside stays round but the inside folds, the base weights need local joint support. If the outside is already flat, inspect the base weight field before editing the corrective key.
-
Restore one correction at a time
Enable the shape key, then Corrective Smooth. The first step that drags the upper arm or erases the back curve identifies the layer that needs adjustment.
Weight colors show influence strength, not preserved thickness. Judge the same vertices through the intended motion range.
Inspect exact inside, center, and outside weights
Select one vertex on the inside fold, one at the elbow center, and one on the flattened back. In the 3D Viewport Sidebar's Vertex Weights panel, compare the full group list and exact values for the upper-arm and forearm deform bones.
Abrupt ownership changes can crease the inside; a broad half-and-half band can collapse the outside on a very short limb. Use vertex or face selection masking, edit only the elbow rings, normalize the selected region, and keep known-good shoulder and forearm groups locked.
Test Preserve Volume on the Armature modifier as a diagnosis, not as proof that the weights are finished. If it improves the bend without introducing a twist or bulge elsewhere, the remaining problem is local volume preservation rather than a distant wrong-bone influence.
Know when weights alone are not enough
Short, thick limbs may need deformation support that splits the bend across more than two bones. A fan or helper deform bone can carry the center loop through part of the rotation, but adding one changes the rig and export contract. Test that only on a copy and verify every dependent constraint and animation.
If the existing rig must stay unchanged, a tightly masked corrective shape key may be safer. Sculpt only the elbow region at the failing angle, keep the back-of-arm vertices outside the mask unless they truly need correction, and confirm that the driver reaches full influence only near the target bend.
For Corrective Smooth, verify modifier order and bind state. A stale bind or a broad vertex-group mask can flatten vertices the shape key was meant to preserve.
Retest the whole joint, not one screenshot
-
Sweep from straight to full bend
Check several angles, not just 90°. A correction that pops on at one frame or creates a new bulge at 60° is not finished.
-
Rotate the limb around its other axes
Confirm the repair survives normal arm swing and twist. Preserve Volume and corrective keys can trade one clean view for a new failure off-axis.
-
Verify the delivery target
If the rig exports to a game engine or glTF, test the exported result. A Blender-only modifier or unsupported helper setup is not a production fix.
What the analyzer can and cannot prove
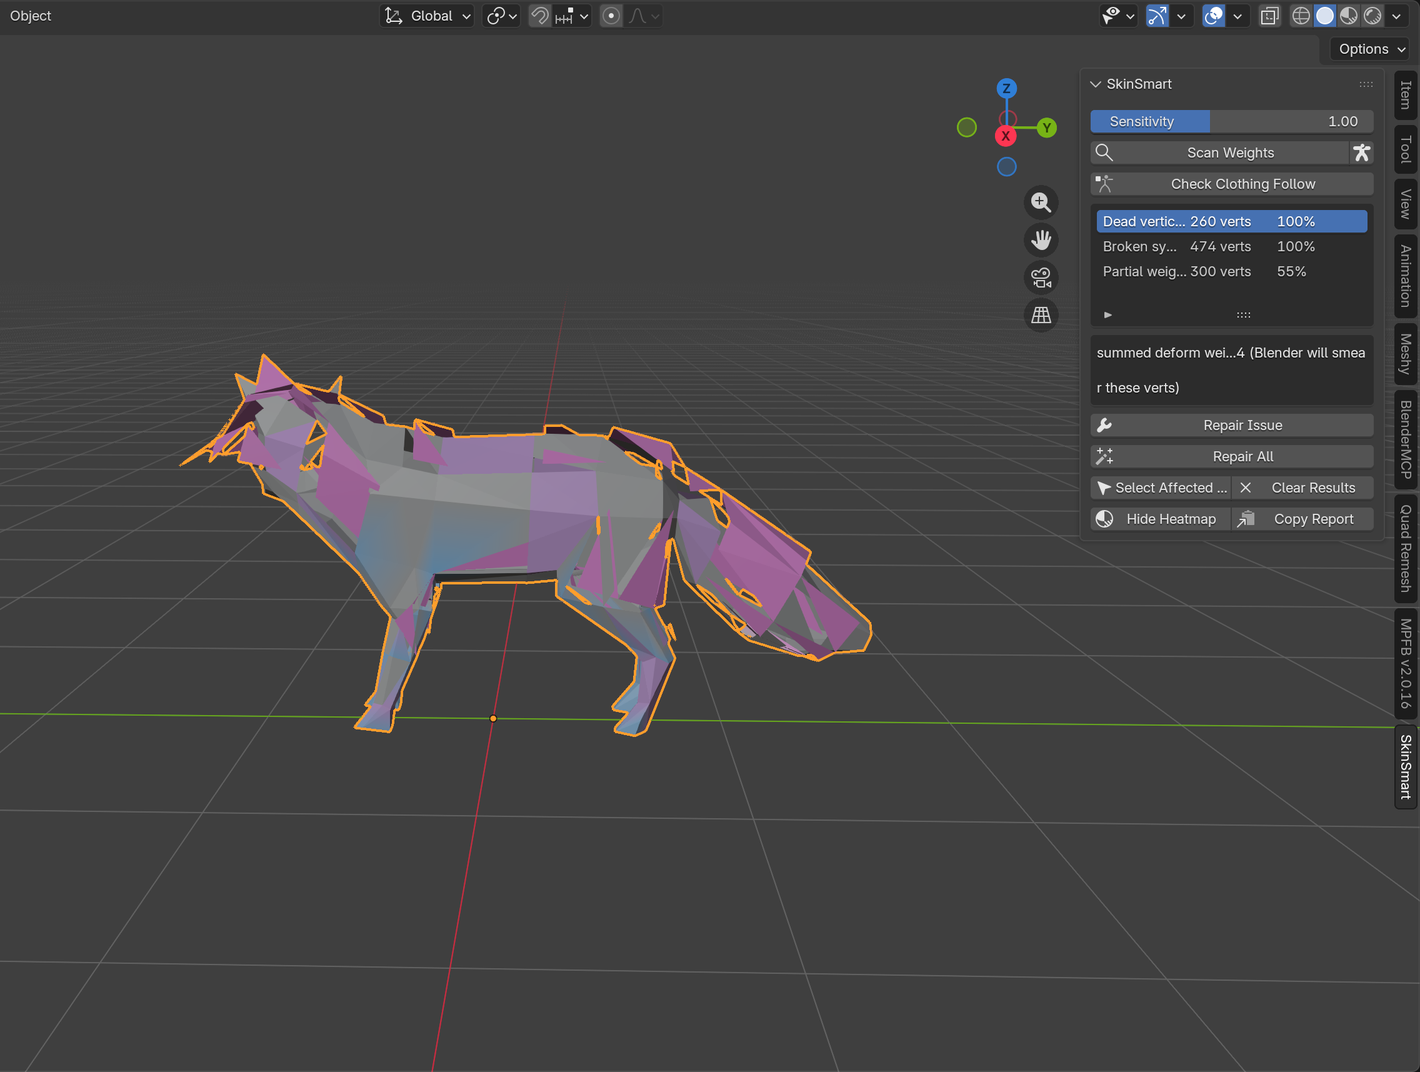
The free SkinSmart analyzer can flag suspicious armature vertex-group relationships. It does not diagnose every corrective shape key, constraint, helper-bone design, or smoothing modifier, and it does not guarantee that an arbitrary production rig can be repaired.
Download the free analyzerReferences
- Blender Manual: Armature Modifier, for vertex-group deformation and Preserve Volume.
- Blender Manual: Corrective Smooth, for bind coordinates, vertex-group restriction, and modifier behavior.
- Blender Manual: Shape Keys, for pose-specific mesh correction.
- Blender Manual: Vertex Weights, for reading every group and exact value on a selected vertex.
- Public troubleshooting case: a short, thick cartoon arm whose corrective setup fixed the inside fold while flattening the back at 90°.