A recent Blender Artists case showed a hollow hoodie deforming after Automatic Weights while its lighter inner surface pushed through. The artist inspected one group and saw blue, but that observation alone could not tell whether the lining was completely unweighted, weighted to a different bone, or generated from an already thickened mesh. Use one exposing pose and trace the deformation path before painting.
Classify what the blue surface is doing
-
Keep one repeatable failed pose
Key the pose where the lining clips through. Return to that exact frame after every change so a small camera or pose difference cannot masquerade as a repair.
-
Select one exposed inner vertex
In Edit Mode, open the Sidebar's Vertex Weights panel. Record every group and value on that exact vertex. Weight Paint color shows only the active group; an unrelated spine, hand, helper, or opposite-side group may still be pulling it.
-
Compare its matching outer vertex
If the outer shell moves correctly, compare the two vertices' complete influence lists. Matching colors on one group are not enough; normalized ratios across all deform groups must support the same motion.
Blue for the active group means that group contributes little or nothing. A vertex with no deform weights at all stays behind; a vertex with a hidden wrong-bone weight moves, but follows the wrong part of the rig.
Check whether Solidify created the lining
If the inner surface came from a Solidify modifier, keep that distinction visible while testing. A live Solidify modifier generates thickness from the weighted surface, while applied thickness turns the inner wall into ordinary mesh vertices that need their own correct data.
-
Inspect the modifier order
Duplicate the file, then compare Armature before Solidify with Solidify before Armature. The first deforms one weighted surface and adds thickness afterward; the second asks the generated inner and rim geometry to participate in deformation.
-
Do not apply modifiers just because the rig is ready
Applying Solidify early creates more vertices to weight and can expose mismatched inner/outer influences. Keep it live unless a downstream requirement demands real thickness, and preserve a copy before applying it.
-
Check rim and boundary behavior
Sleeve cuffs, hoodie openings, and hems can reveal gaps even when the broad surface follows correctly. Inspect those boundary vertices separately instead of smoothing the entire garment.
Transfer a known-good weight field when possible
If a body or clean outer garment already deforms correctly, use it as evidence rather than asking Automatic Weights to solve overlapping cloth, fingers, and torso surfaces at once.
-
Copy onto a duplicate first
Use Blender's Transfer Weights operation or a Data Transfer modifier to copy vertex-group data from the known-good surface. Nearest Face Interpolated is often a useful starting mapping when the meshes have different density.
-
Limit the destination region
Transfer only where the garment should follow the body. Preserve rigid accessories, loose hems, and hand-tuned regions that already behave correctly.
-
Normalize, then inspect exact values
Run Normalize All on the intended deform groups and check the same inner and outer vertices again. Transfer is a starting field, not proof that the hoodie will survive every shoulder, elbow, and crouch pose.
Repair locally and retest the garment
Once the cause is known, remove only the proven wrong influence or assign the missing vertices from the intended neighboring field. Test shoulder lift, elbow bend, torso twist, and the original failed pose. If the weight data is correct but the inner surface still intersects the outer shell, the remaining problem is thickness, collision, or topology rather than a reason to blur the weights again.
Use the analyzer for suspicious weight data
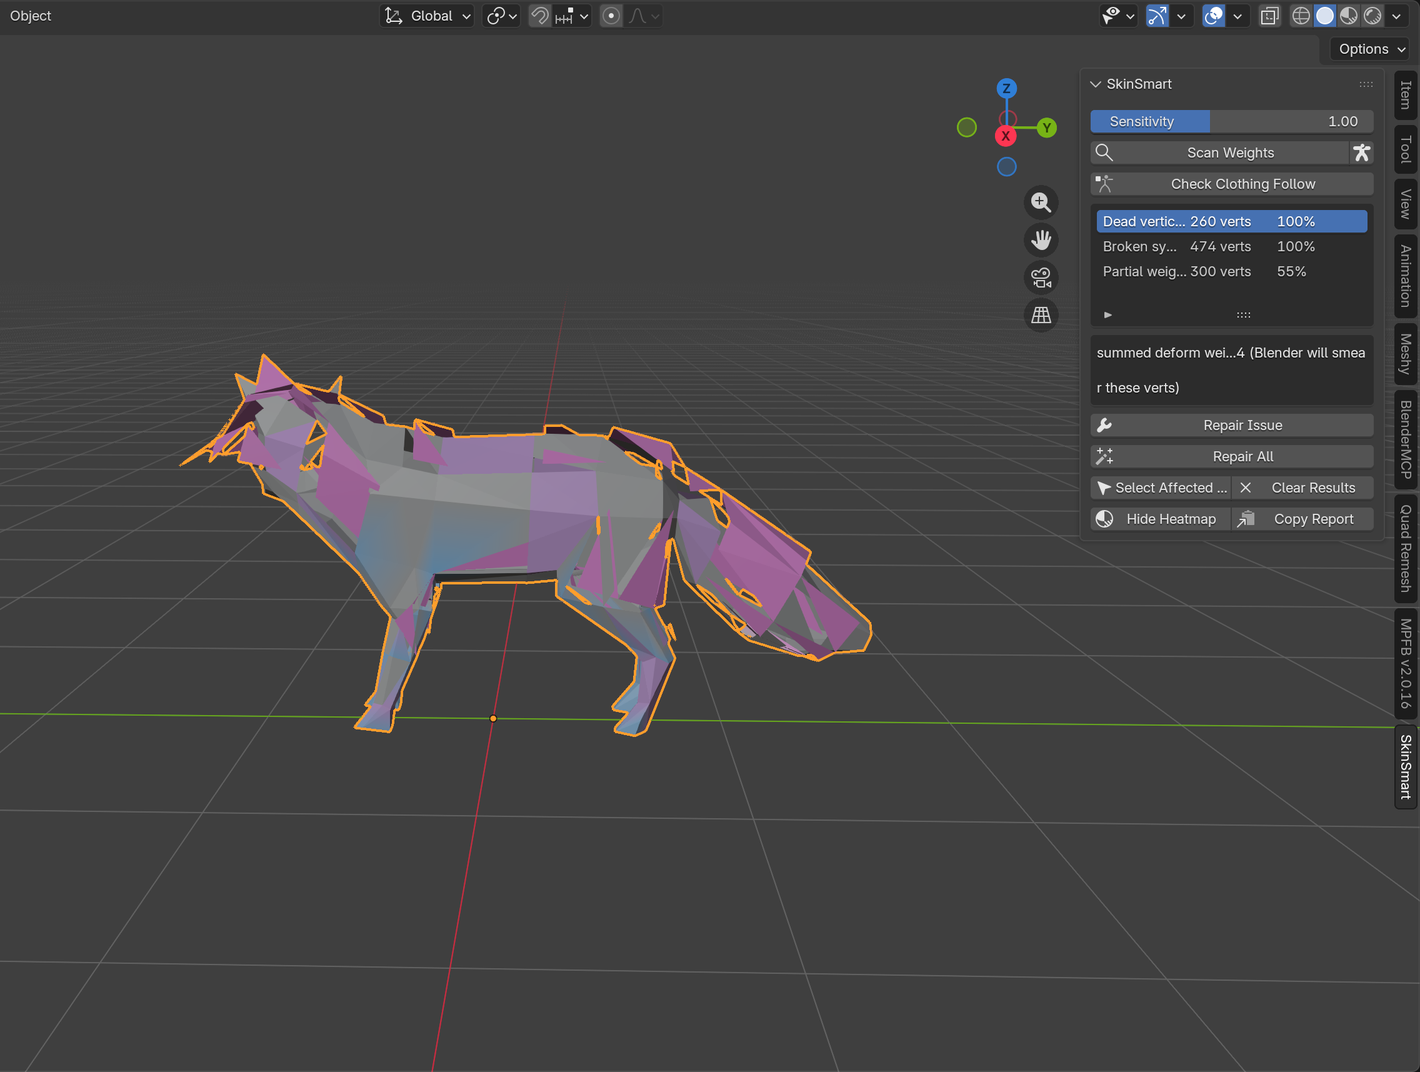
The free SkinSmart beta can flag suspicious influences, select affected vertices, and check whether clothing follows the intended rig. It diagnoses; it does not change weights, reorder modifiers, create thickness, or guarantee that an arbitrary production garment can be repaired.
Download the free analyzerReferences
- Blender Artists: rigged hoodie lining contorting after Automatic Weights, the current problem pattern that prompted this guide.
- Blender Manual: editing weights, including normalization and weight transfer.
- Blender Manual: Data Transfer modifier, including vertex-group data and mapping choices.
- Blender Manual: Solidify modifier, for generated thickness and rim behavior.
- Blender Manual: Armature modifier, for vertex-group deformation and modifier-stack context.